What is toposurface?
-Toposurface is determining the Horizontal coordinate system such as Latitude, Longitude, and Longitude, and recognizing the typical landform pattern to identifying its features.
Step-1
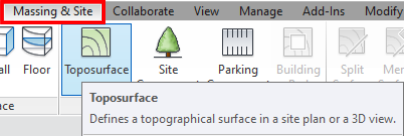
-Click on the Massing and Site from the Quick Access Toolbar and then click Toposurface from the Ribbon tab.
Step-2
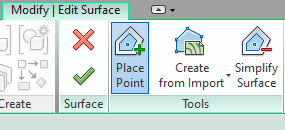
-From the Tools panel you have to select the Place Point.
Step-3
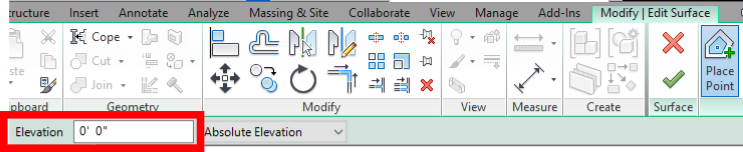
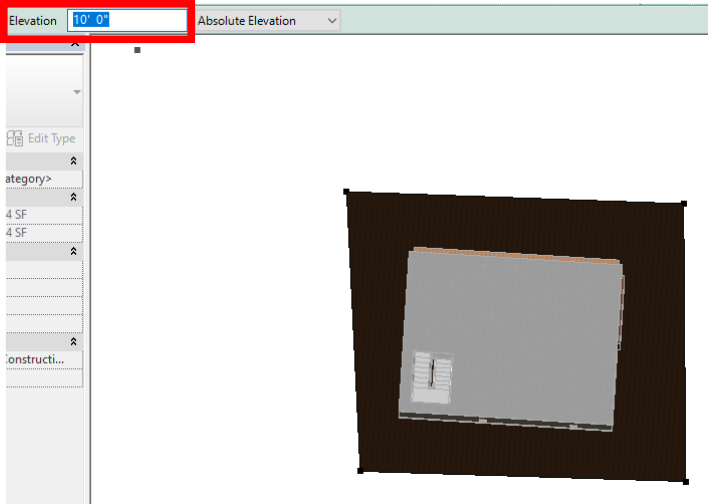
-Change the value for elevation or height of the Toposurface so that you can draw it on a particular Height.
Step-4

-According to Revit, you can’t draw topo-surface in a plan view. You have to open a 3D view and change it to the top view to draw.
Step-5
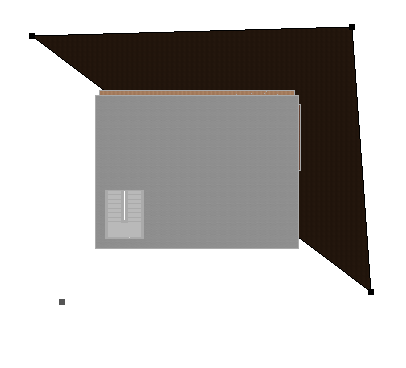
-Place a point to make or draw a topo-surface.
Step-6

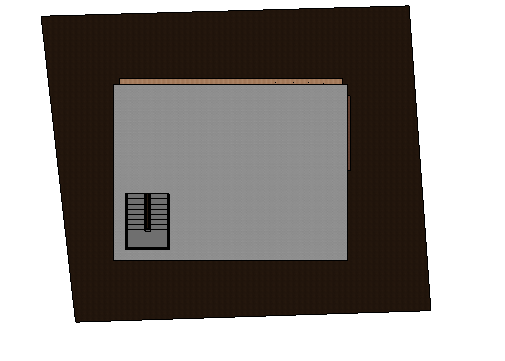
-Add different values to draw topo-surface at a different elevation or height.
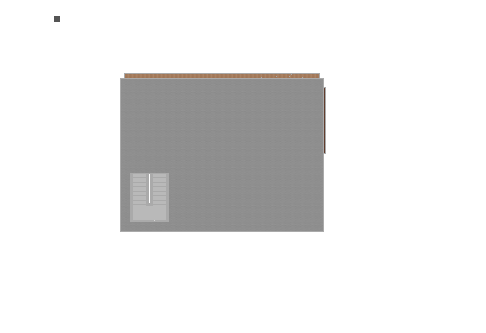
Step-7
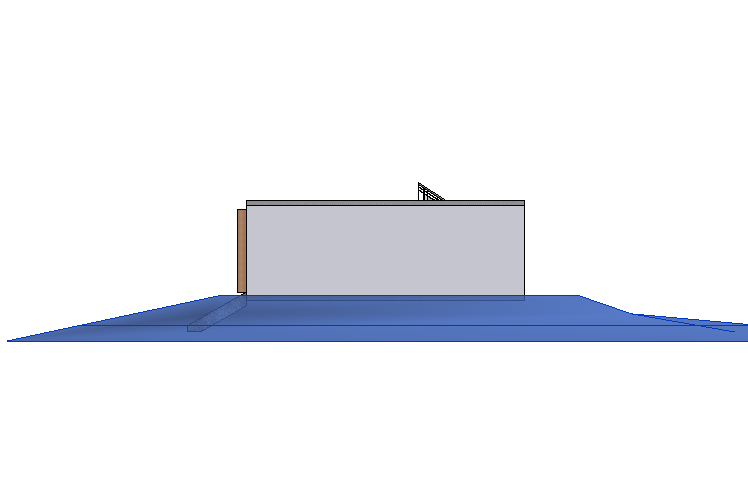

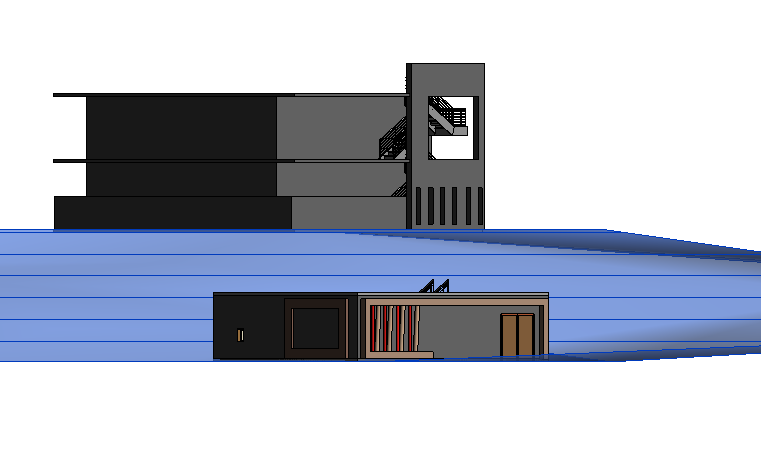
-As you can see in the above images we have created a topo-surface at the different levels.
Step-8
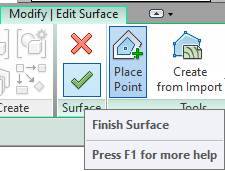
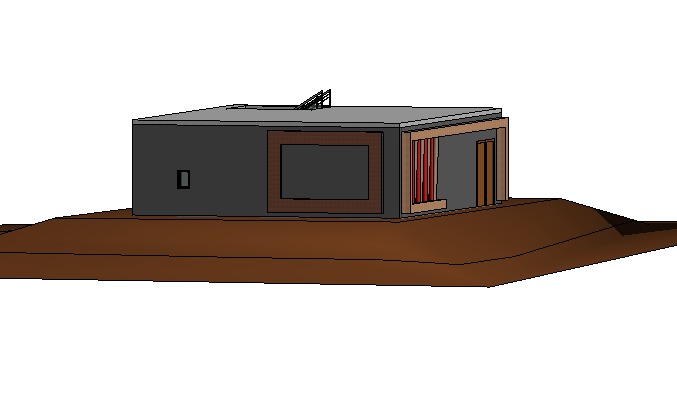
-Click on the ‘Finish surface’ to complete the drawing.