
Align
Step-1
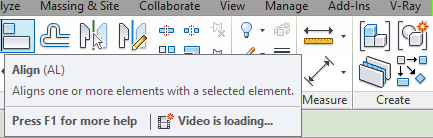
-Click on any wall or line to open the modify panel from that select ‘Align’. or else type ‘AL’ to open the Align command
Step-2
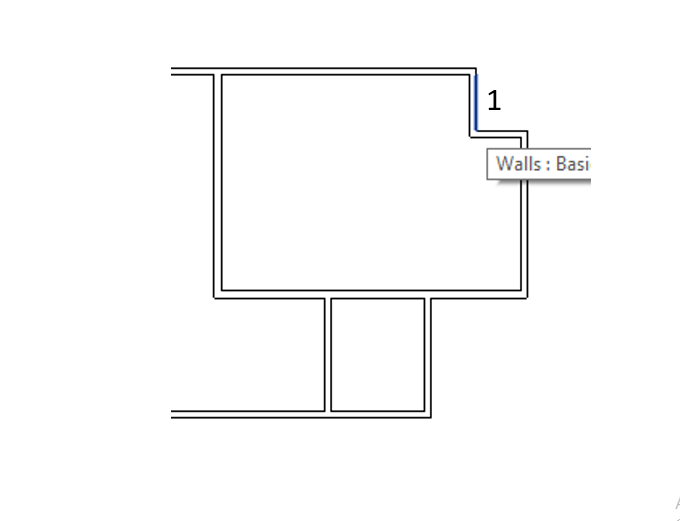
-Click on the wall either the interior face or the exterior face as a reference, based on which side you want to align.
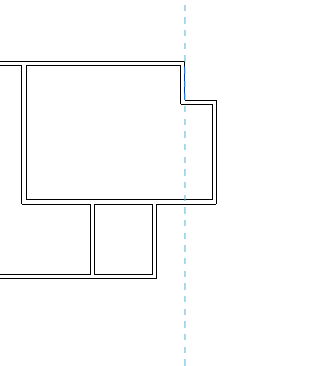
Step-3
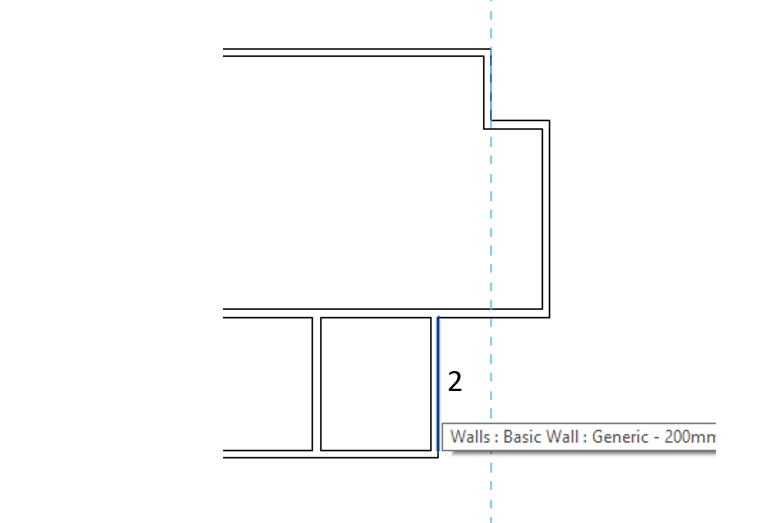
-Click on another wall or line to align with the reference wall or element.
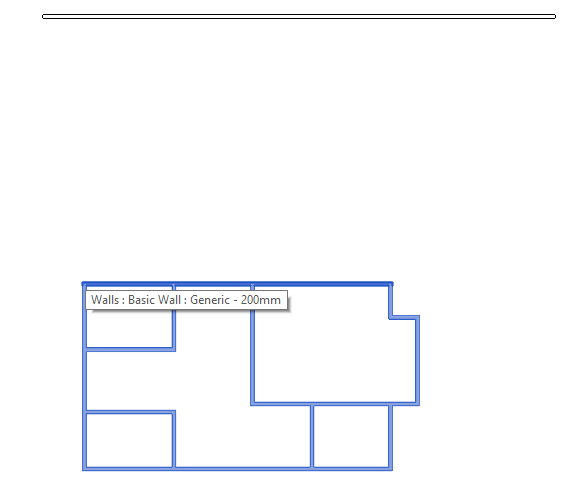
Offset
Step-1
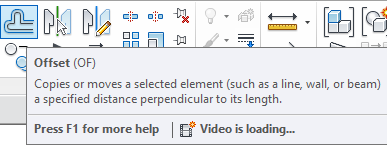
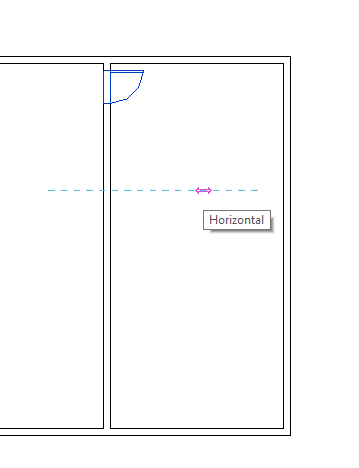
Click offset from the Modify panel or else type ‘OF’ to open the offset command.
Step-2
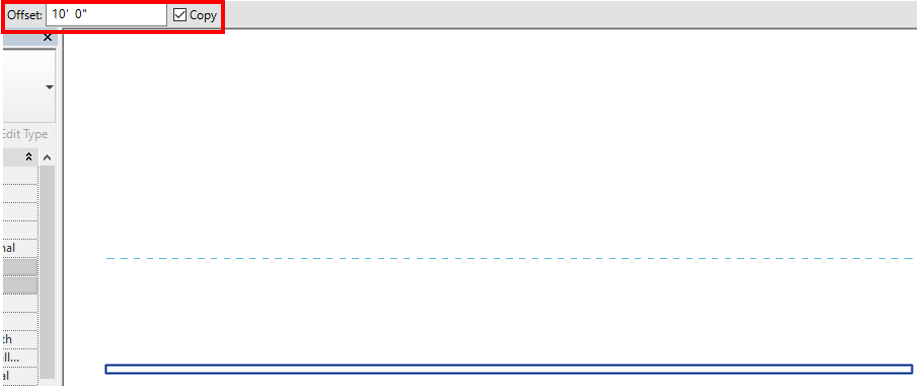
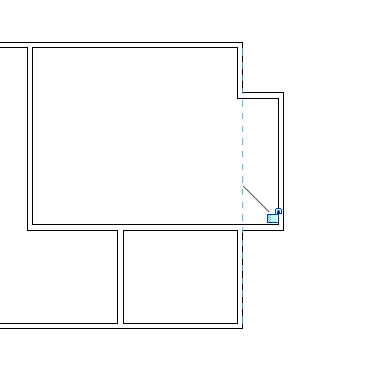
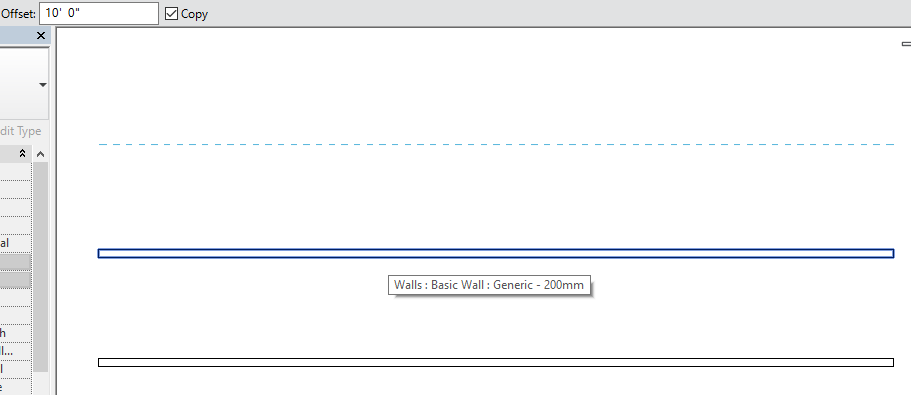
-Set offset distance and click on the Existing line or wall to generate an offset line. The dotted line is a preview of the offset line which is going to be created at the particular distance.
Step-3
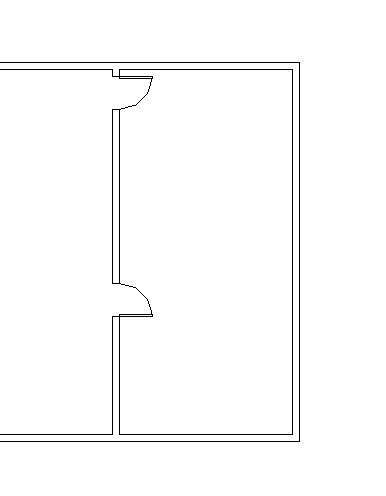
-Similarly, click on another wall to create another offset.
Mirror-pick Axis
Step-1
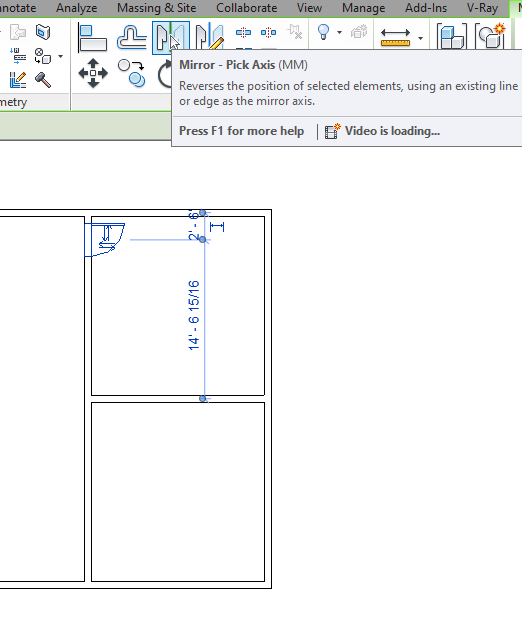
-Select an element and select the Mirror-pick axis or else type ‘MM’ to open the Mirror-pick axis.
Step-2
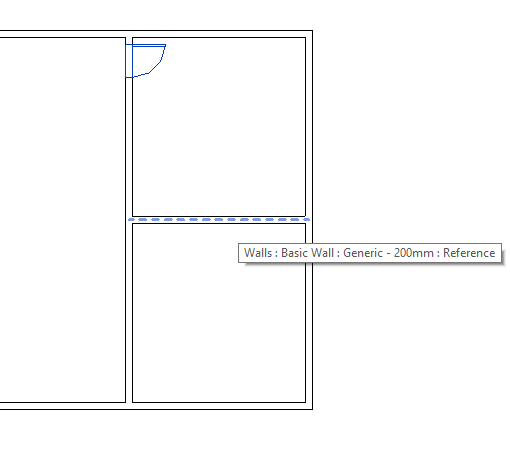
-Pick an existing wall or line as an axis for creating a mirror element. Mirror element form with reference to the existing axis.
Step-3
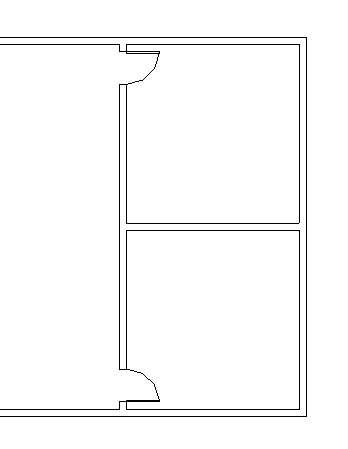
-Press Enter to finish and check the mirror element.
Mirror-Draw Axis
Step-1
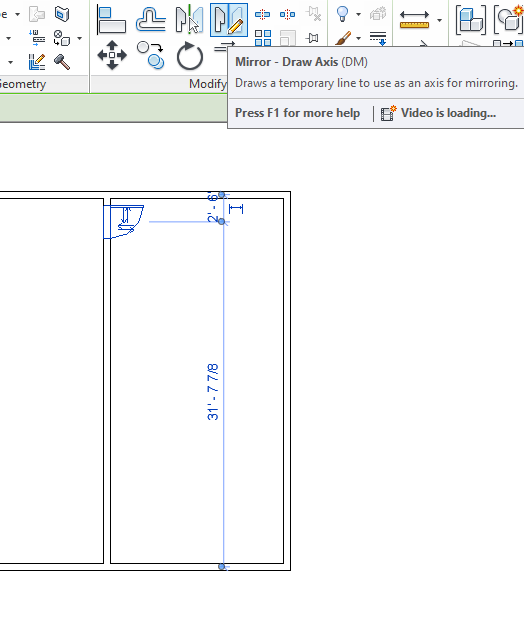
-Select an Element and select ‘Mirror – draw axis’ or else type ‘DM’ to open the Mirror – Draw axis command.
Step-2;

-Draw an axis at the midpoint or any particular point and press enter to make a mirror element. The mirror element form with reference to the axis that we created.
Step-3
-Press Esc or Enter to finish.
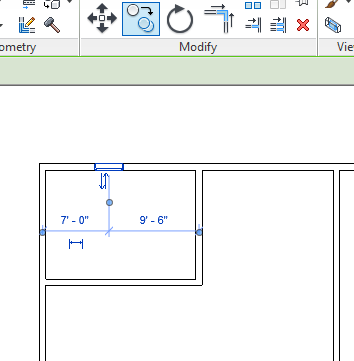
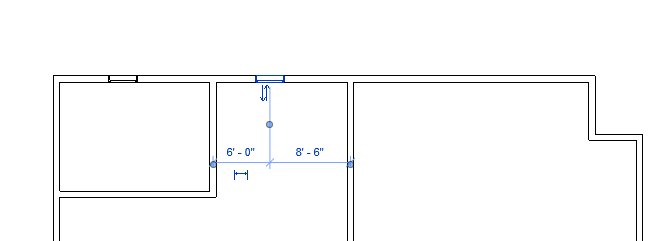
Move
Step-1
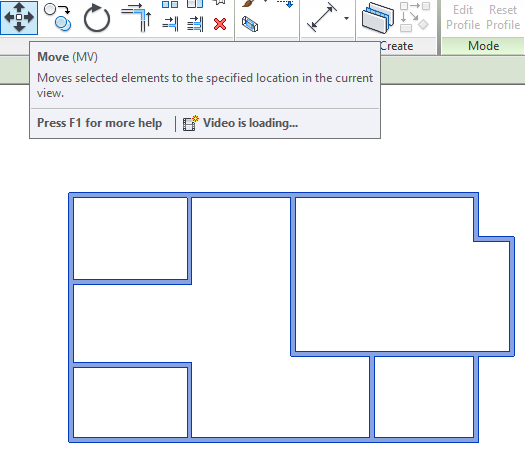
-Select either the whole design or any single element and select move command to move elements. or else type ‘MV’ to open the move command.
Step-2
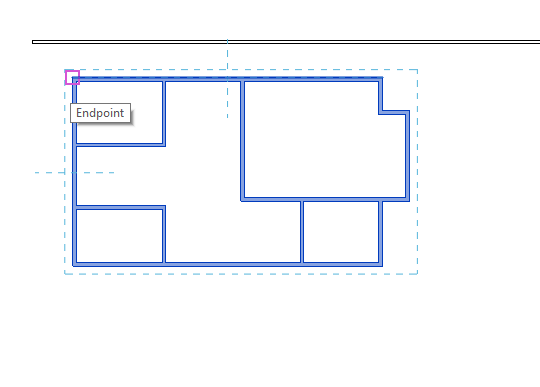
-Select or click at any end of the element and drag towards which direction you want to shift the element.
*I have drawn the wall as a reference so that you can identify the object moved from the wall.
Step-3

-you can see here the object has shifted or moved from one place to another.
Copy
Step-1
-Select any object or element and select copy or type ‘CO’ to open a copy command.
Step-2
-After the element has been selected, click and drag towards which side you want to copy.
Step-3
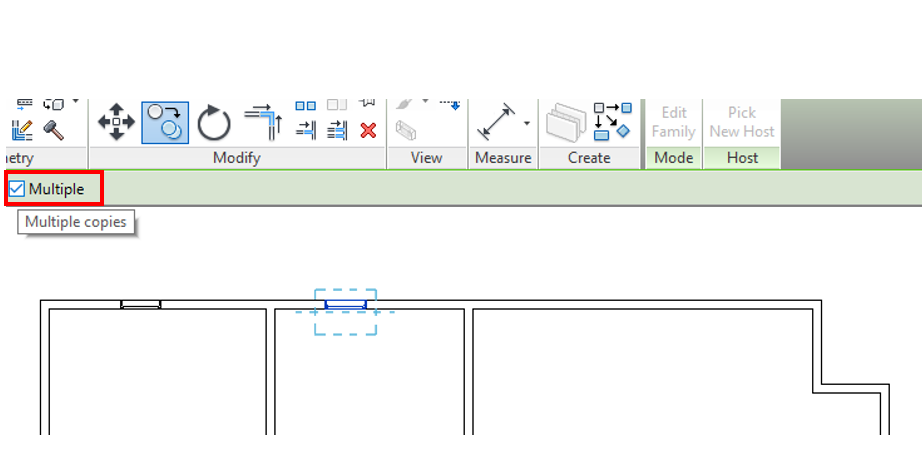
-Tick the Multiple dialogue box so that you can copy multiple copies by selecting a copy command only one time.
Step-4
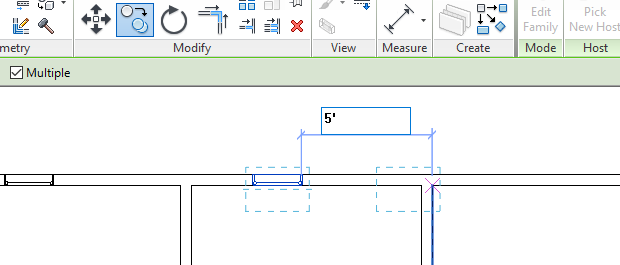
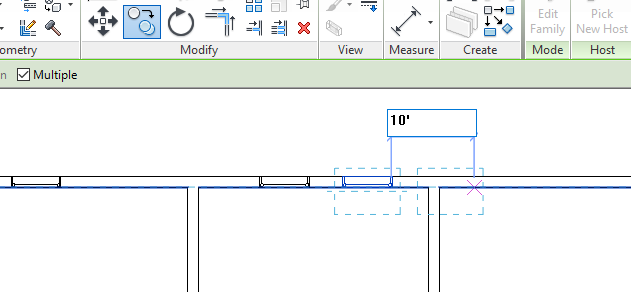
-you can provide a distance so that you can add copying objects at that distance.
Rotate
Step-1
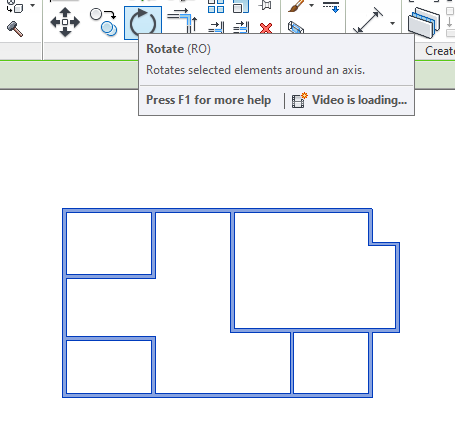
-select an element or object and click Rotate or type ‘RO’ to open the rotate command.
Step-2

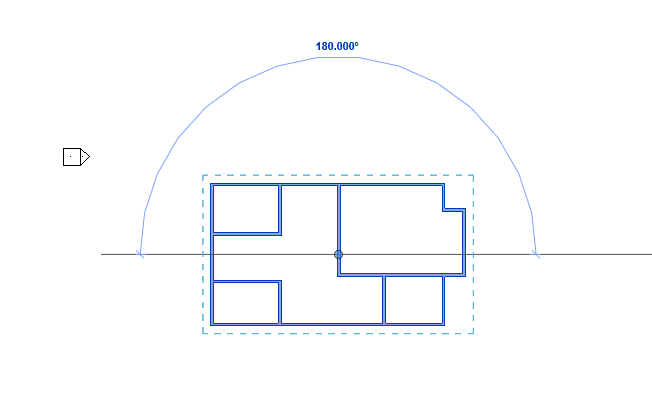
-Click at the far end of the element and rotate or drag the mouse towards another end as shown in fig
-you can rotate the objects or elements at any angle based on your choice.
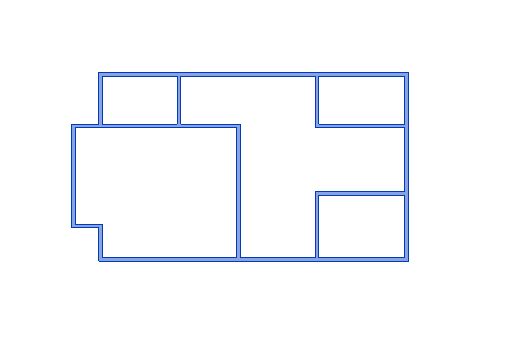
Trim/Extend To Corner
Step-1
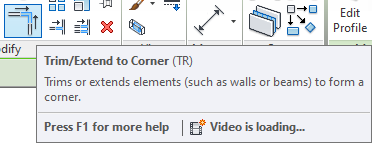
-Go to modify and select trim or type ‘TR’ to open the trim command. Follow the steps below to Trim or Extend elements.
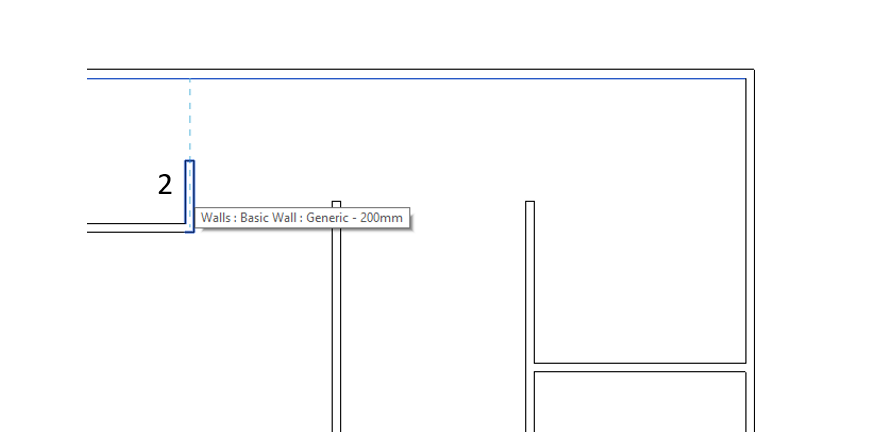
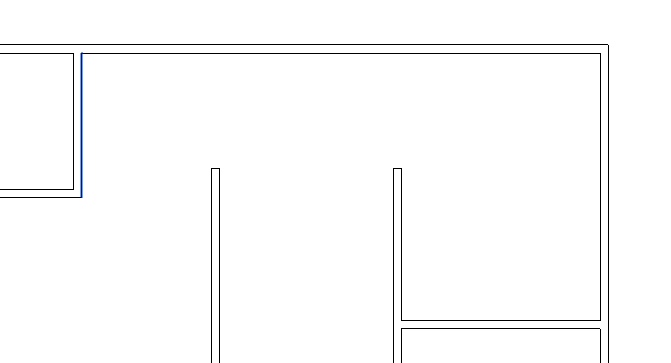
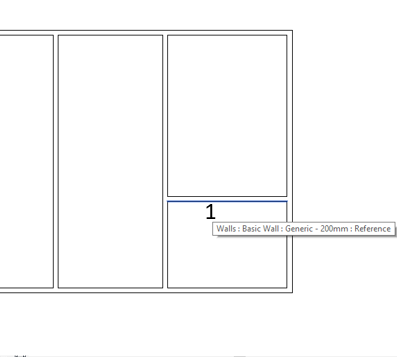
Extend
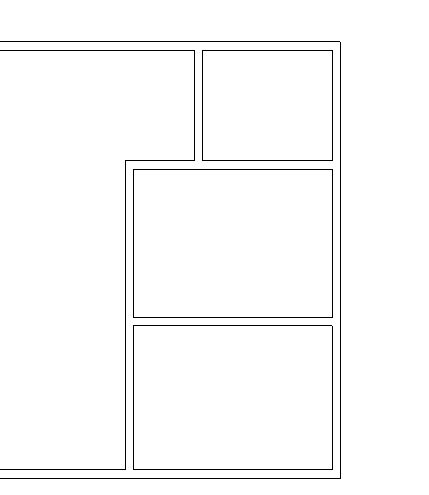
-As shown in fig, the line has been extended. follow the procedure to extend
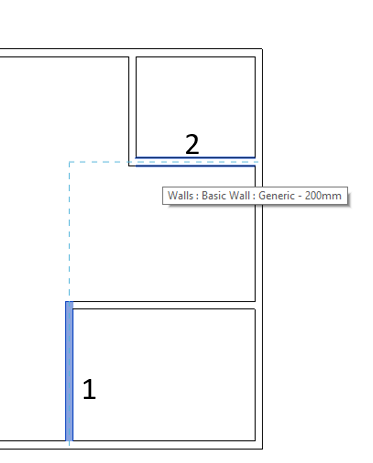
-Select two references to use as boundaries so that you can extend or make a corner. Revit shows you a preview in a dotted line.
-Select wall 1 and then wall 2 to create an extended wall.
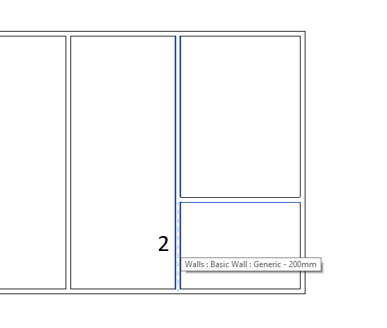
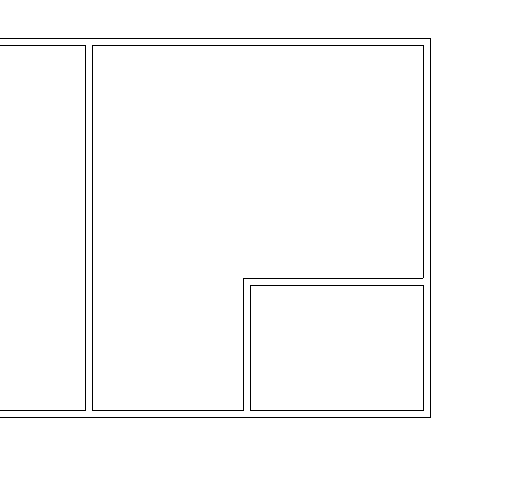
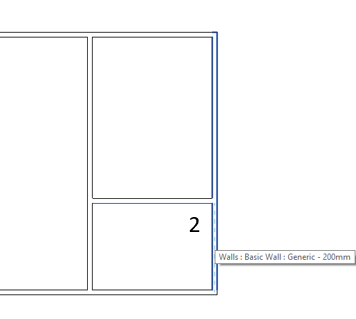
Trim
-Select wall 1 and then select wall 2 as a reference so that these two walls Holds each other and remove another wall.
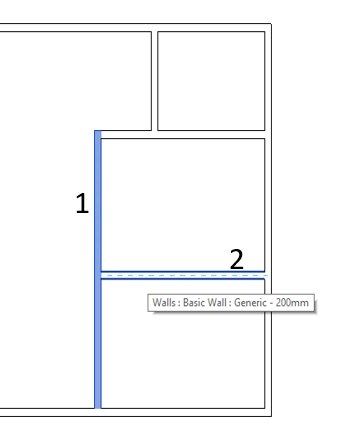
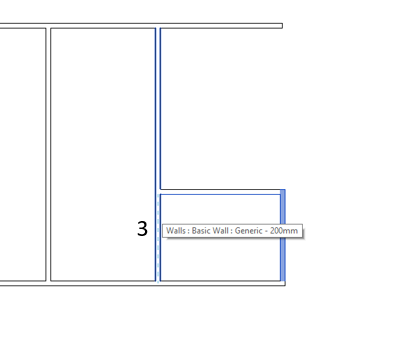
Trim/Extend Single Element
Extend
Step-1
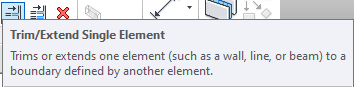
-Select trim or extend Single Element. It trims or extends walls, beams, and lines to a boundary defined by another wall, beam, and line.
Step-2
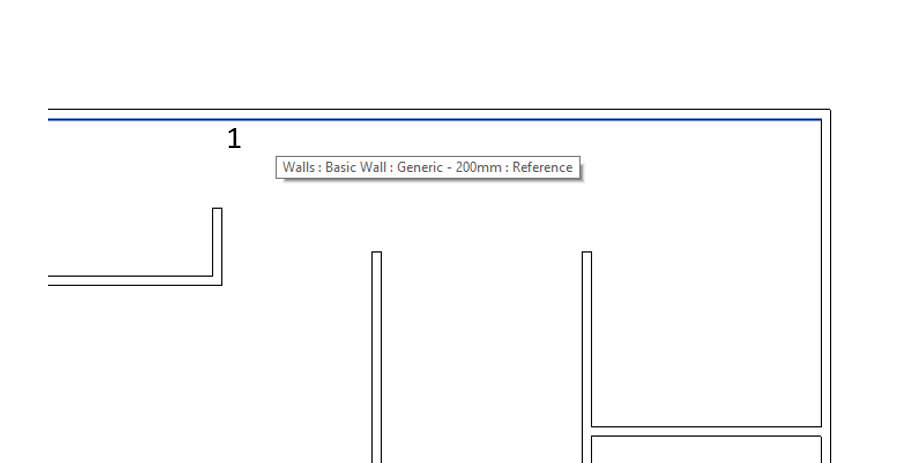
-select wall 1 reference to use boundary.
Step-3
-Select wall 2 as another reference to extend and connect with the first reference wall.
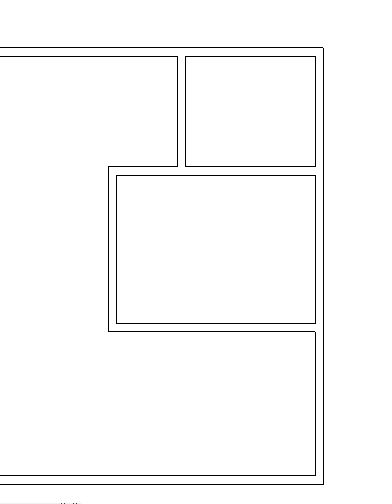
Step-4
-Though this is a single or separate element you cannot extend other elements.
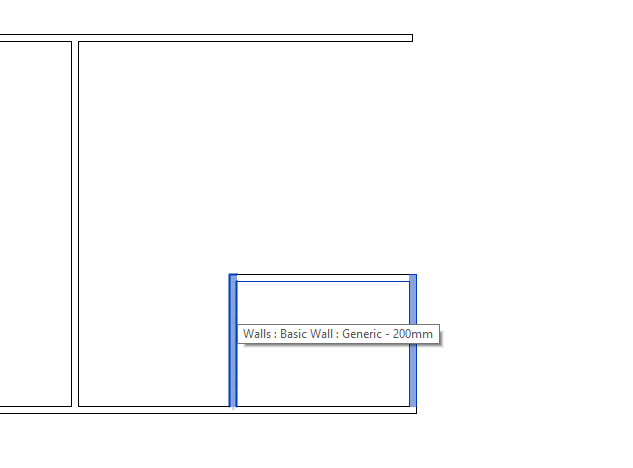
Trim
Step-1

-Click on wall 1 reference to use as a boundary. when you trim elements, make sure that selected elements should be retained or hold.
Step-2
-Click on another wall to be retained.
Step-3
-You can see here, selected walls are retained and non-selected walls have been removed or trimmed.
Trim/Extend Multiple Elements
Extend
Step-1
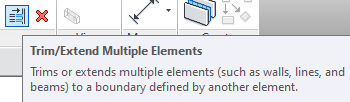
-select Trim or extend multiple elements. You can select multiple elements with this command.
Step-2
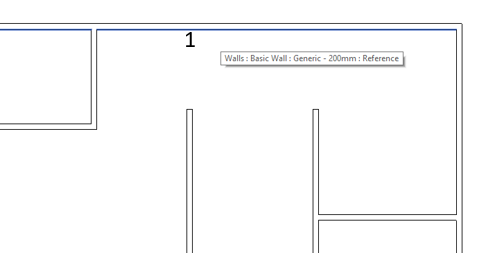
-Select wall 1 reference to use as a boundary.
Step-3
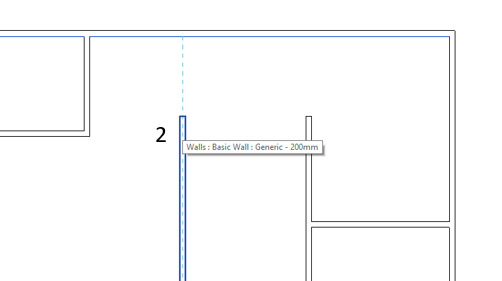
-Click on another reference wall to extend and connect with wall 1.
Step-4
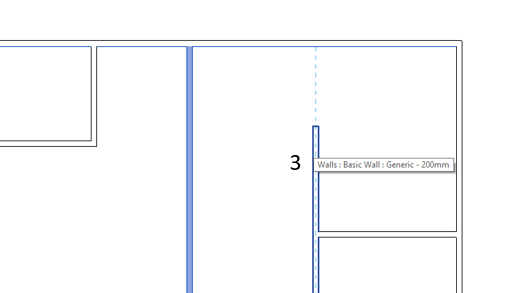
-Though you can select multiple elements select wall 3 to extend.
Trim
Step-1
-select wall 1 reference to use as a boundary to be retained.
Step-2
-select wall 2 to be retaind.
Step-3
-Though you can select multiple elements, select wall 3 to be retained.
Step-4
-You can see here, selected walls are retained and non-selected walls have been trimmed or removed.
Split Elements
Step-1

-Go to modify and select split element or type ‘SL’ to open the Split element command.
Step-2

-You can cut the walls at different points and you can remove them or you can edit them separately.
-Keep the cursor at where you want to cut the wall.
Step-3
-Select the wall and you can either delete it or edit it.
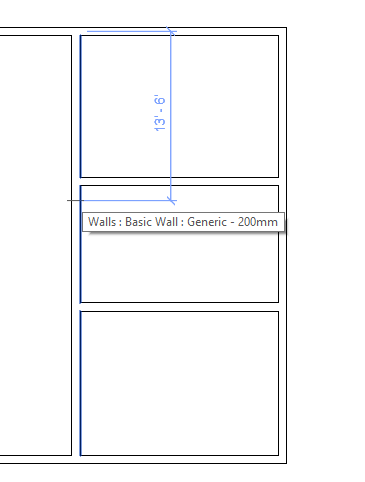
Split with Gap
Step-1
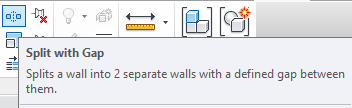
-Go to Modify and open Split with Gap.
Step-2
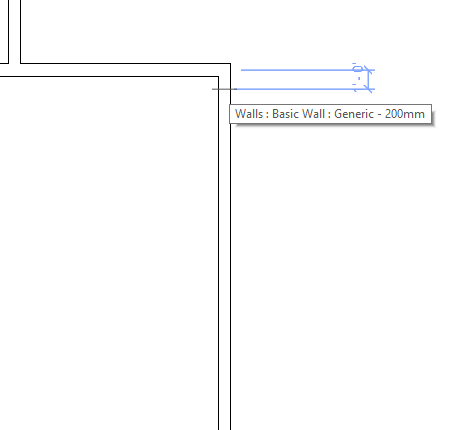
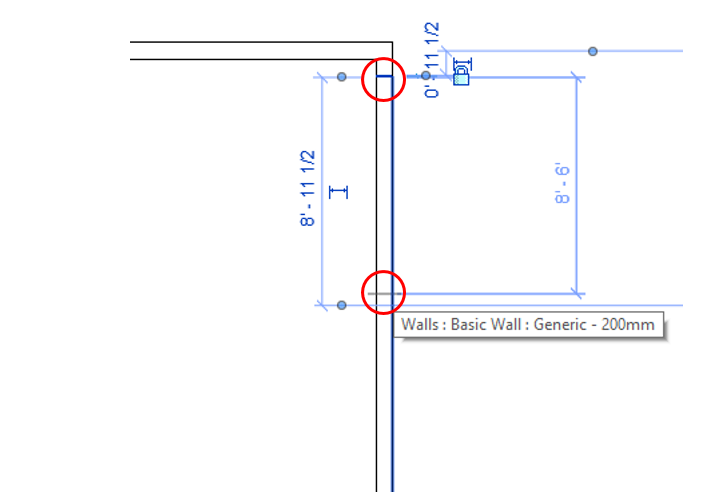
-Cut the walls at different points.
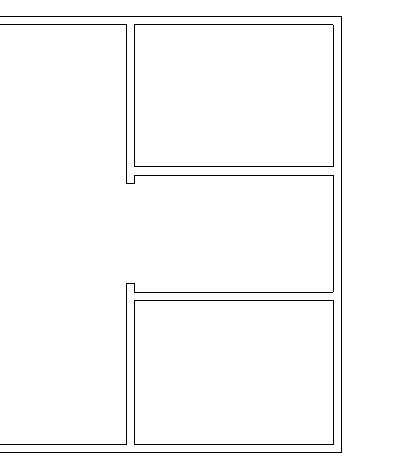
Step-3
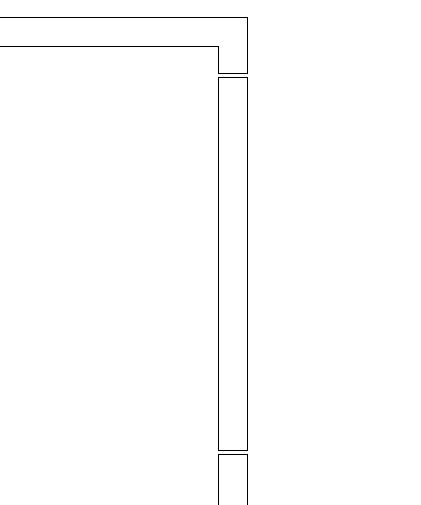
-You can see here, two separate walls have been created. Similarly, you can edit it or remove it.